Streamline Development With Design-to-Code Automation
Learn how Supernova empowers developers and designers to work faster and better while maintaining their distinct impact on the product by setting up design system code automation.
Nezar Mansour
,
Content Writer
Nov 17, 2023
Supernova Guides
Since the early days of design-led software development, we’ve been promised magical no-code solutions that automatically take your designs and give you a fully coded product. Nowadays, with the advancement in LLMs and AI, that promise might be closer to reality. But at the end of the day, developers and product teams will always want to have their say on what makes the final product. Design-to-code automation tools must give users full visibility and control over their output.
In this article, we'll go over how Supernova empowers developers and designers to work faster and better while maintaining their distinct impact on the product by setting up design system code automation.
Benefits of code automation in a design system
Design systems have a lot of benefits, but when it comes to the primary reasons companies invest in them, it usually comes down to two factors: consistency and efficiency. In simplified terms, tokenizing designs, documenting clear guidelines for using the system — and merging everything in a source of truth — helps teams achieve both. Translating that to the development side of the product, not just the design, is something most teams struggle with. The true promise of design systems goes beyond that and connects to the implementation within the code itself.
You can have consistent colors and text styles throughout your designs. For example, #primary-color = #0047AB is defined and used throughout the designs. However, when handing designs off to a developer, the process takes a lot of manual effort to constantly update and manage tokens, opening up the product to inconsistencies.
Using the same token as the building block and reference in both your design and code helps you achieve that consistency. Automating the process of updating any changes to a token has helped teams save 10 hours/week in duplication and handoff efforts. So, let's look at how we can implement code automation within minutes.
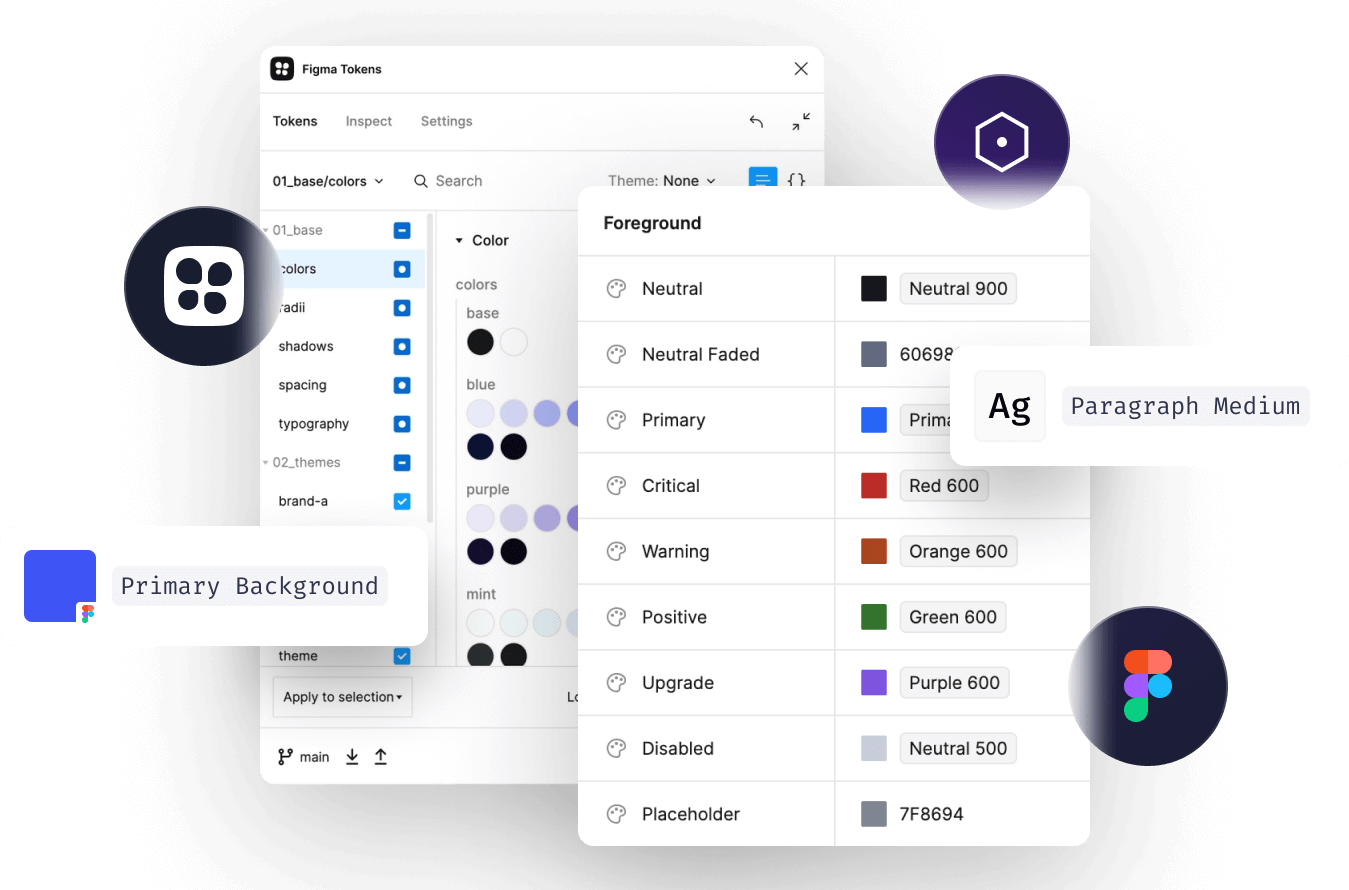
Connecting your design tokens to your Supernova design system
To effectively connect your designs to your code, you need a design system to be your source of truth. Within your design system, you can manage your design data, document your design guidelines and code, and connect them to your codebase. Using Supernova, you can quickly import and manage all our designs in a few simple steps.
Log in to your Supernova workspace and head over to the Data sources section.
From there, click Add new source and select your method. Add your Figma library URL, and you're good to go. However, if you're using Figma variables, check out our full guide for importing them using the Supernova Figma plugin.
With our design tokens now synced to our Supernova workspace, we can manage and document them, so let's move on to setting up a code automation pipeline.
How to set up design-to-code automations
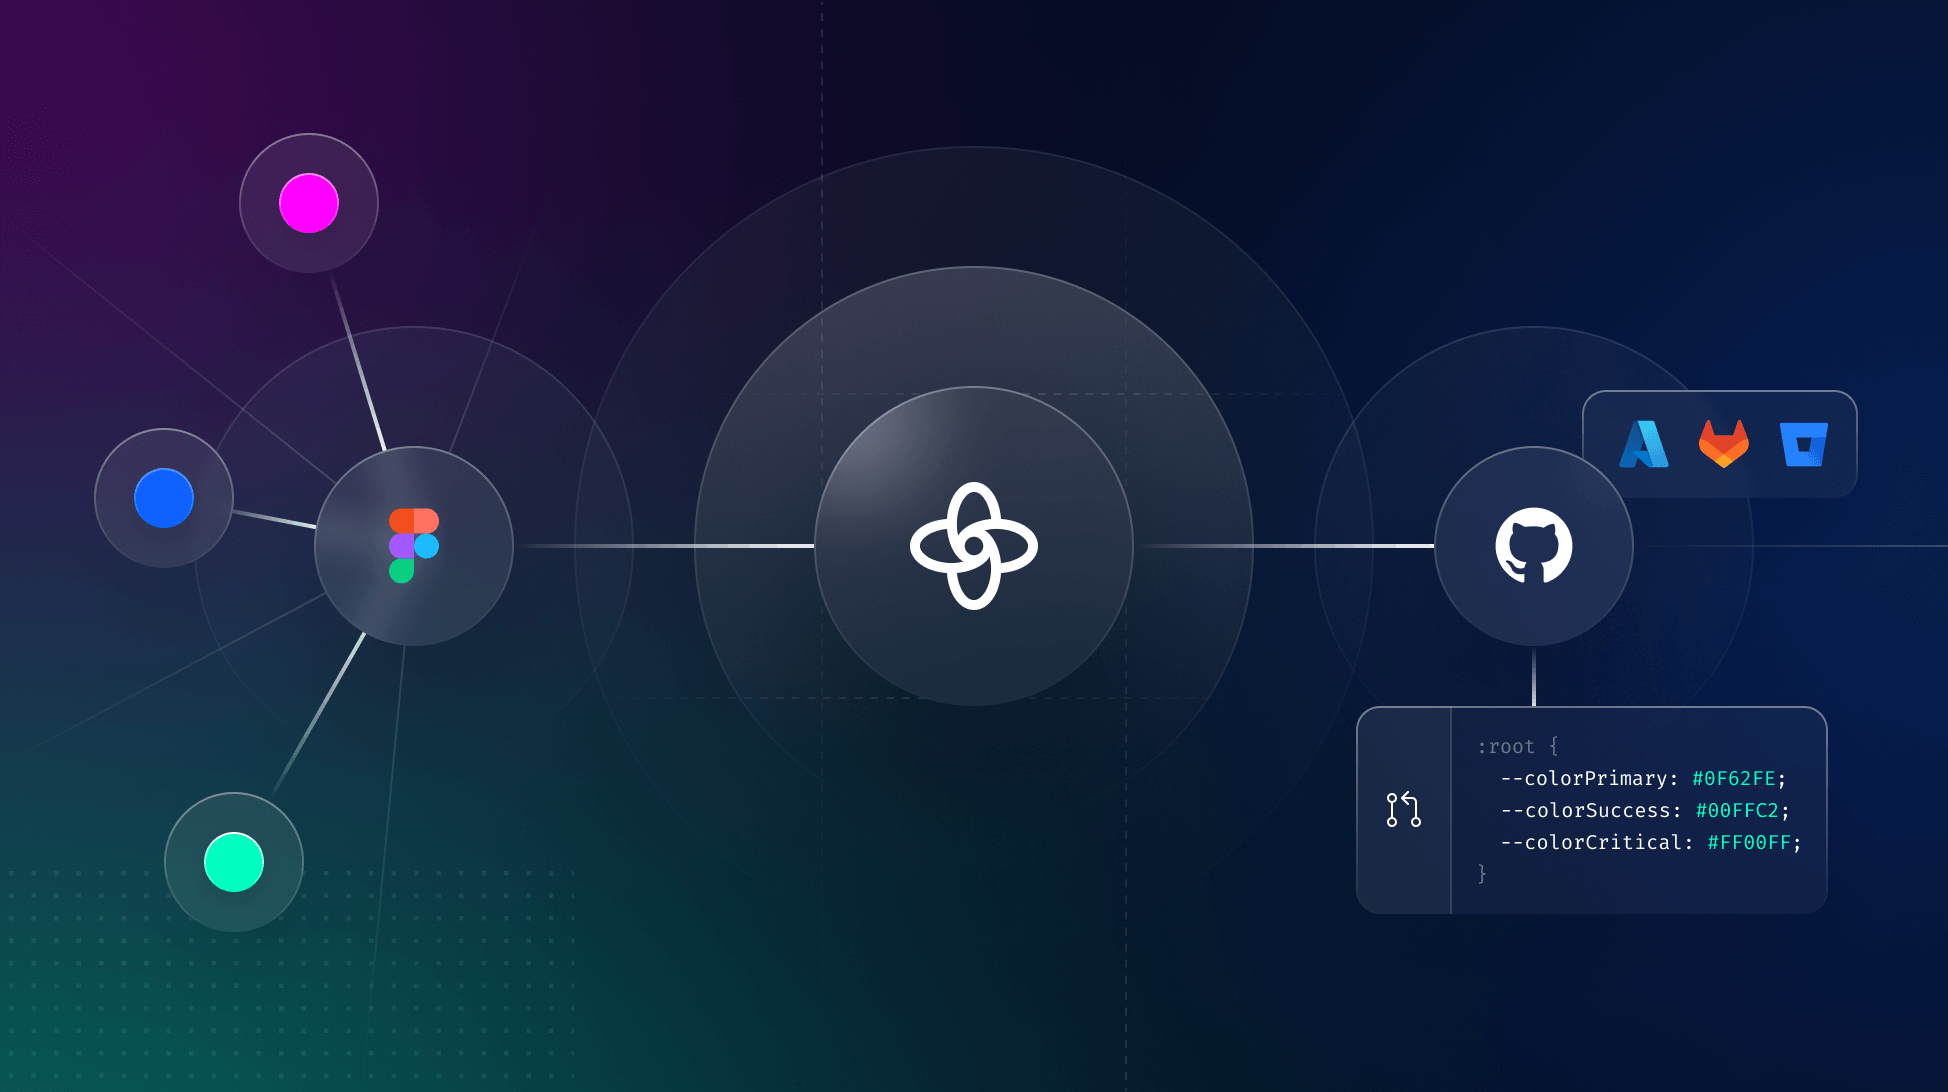
Delivering designs to code with Supernova involves two key pieces: exporters and pipelines. Together, they help you streamline the process and involve setting them up once and reaping the benefits automatically in the future. So, let's look at each part and how they make up the bigger picture.
Convert your designs to code with exporters
Exporters are compact packages that convert your design data into various outputs, including production code, resources, images, and other forms. For instance, a basic exporter might perform a straightforward transformation, taking all tokens from a single design system and converting them into CSS values, which you can then add to your codebase.
Exporters are meant to offer flexibility. They can be activated manually for one-time code generation or integrated into Supernova pipelines. When used with Supernova pipelines, they automatically deliver code, assets, or any other required elements directly into your codebases.
Customize your output to fit your needs
There's a list of out-of-the-box exporters that you have instant access to, including Android, iOS, CSS, Flutter, React, and much more. But as we mentioned at the beginning of the article, developers need both visibility and the ability to fully control their output. To help you do that, all exporters are fully customizable, and not only that, but you can also create your own exporter from scratch.
Supernova gives you all the tools you and your team would need to streamline your development. And now that we know what exporters are and what we can do with them. Let's look at how we can automate the process with pipelines. We'll use the CSS exporter to show you how it works for our article.
Using exporters
The CSS exporter allows you to produce CSS definitions in a way that can be immediately used in your production codebase to style all your visual elements. Specifically, the exporter will deliver the following:
Color definitions
Text Styles
Gradients
Shadows
Borders
Radii
Measures
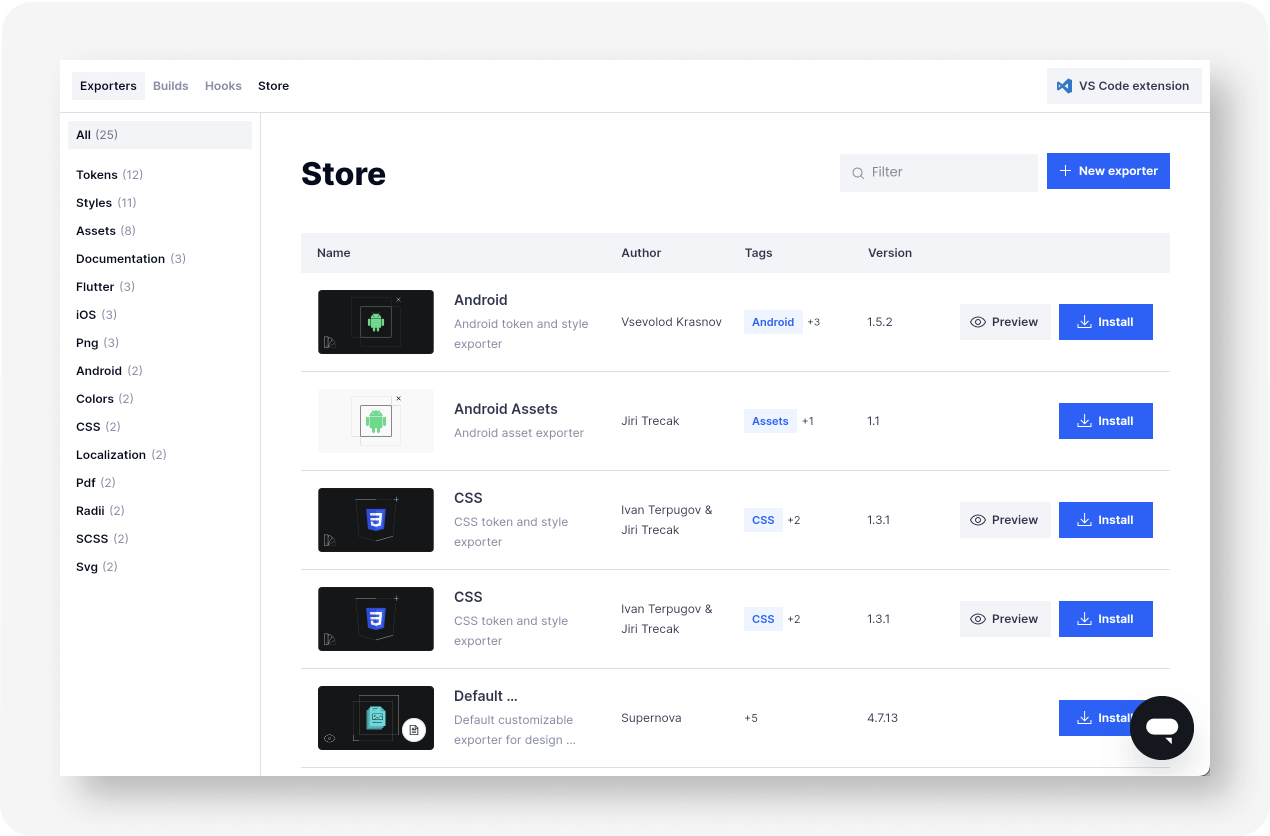
To find and install the exporters, navigate to Supernova Cloud > Code Integration > Store. You'll find a list of all the out-of-box exporters.
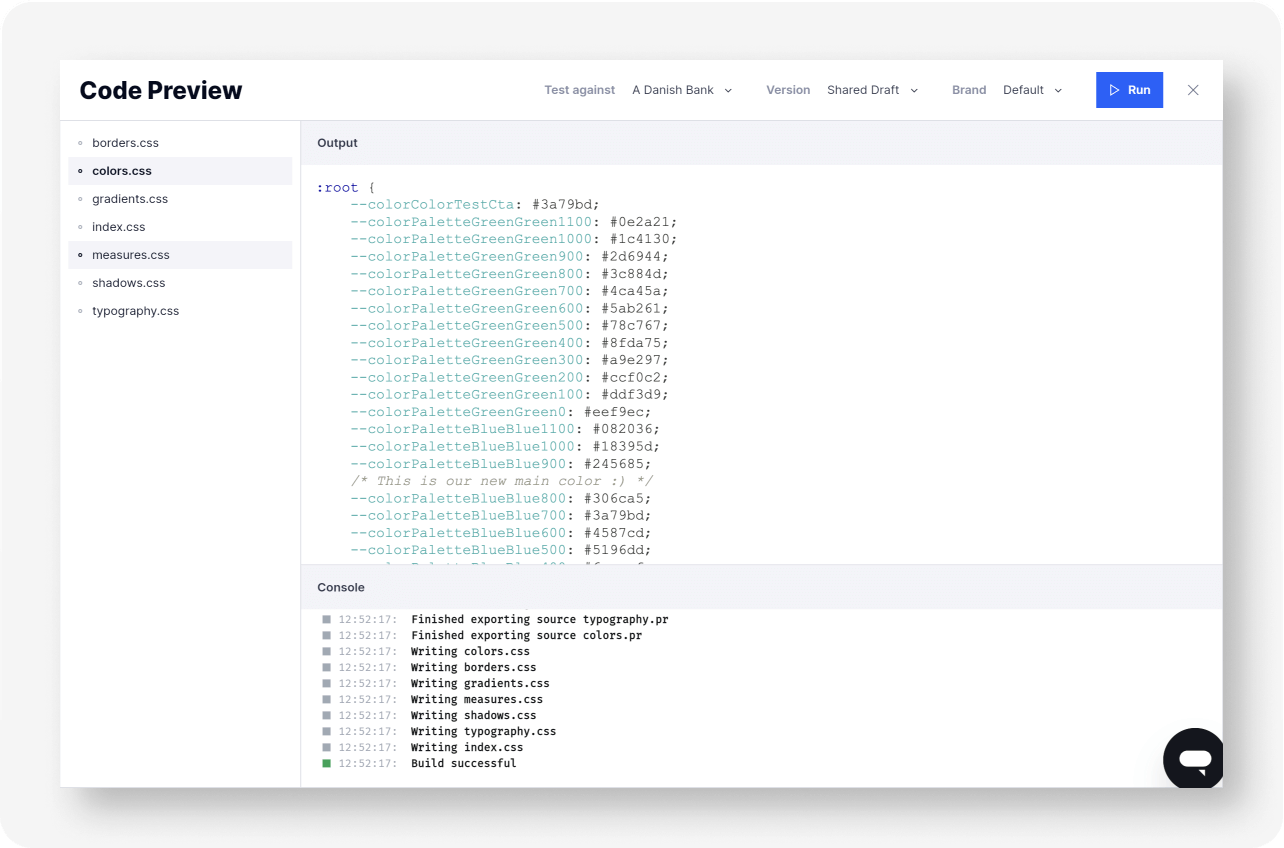
Click Install to add it to your workspace, but you can also get a sense of what your output would be with Preview. For our CSS example, here is an example output:
Once you’ve run the exporter against your design system, you can start using the code in your codebase right away. To use the output of the exporter, simply add the stylesheets to your HTML page. And because tokens are defined as CSS variables, you can use them as such, anywhere you need that value (even in order definitions).
Automate your design-to-code workflow with pipelines
Now that we know what exporters are and how to customize them to our needs. We can set up our automation pipeline to streamline our workflow.
How pipelines work
At the heart of every pipeline is an automatic observer. It continuously monitors specific events in your design system, such as adding or changing design system elements (like tokens).
For each detected event, you specify which pipeline should be activated. Pipelines specify how your design data gets transformed into usable code and also where and how they should be delivered.
Finally, the code is generated and sent to your specified destination. This is usually a code repository where Supernova will open a pull request with generated code.
Event types
Supernova offers three primary event types that can automatically trigger code delivery:
Version released: Triggers the exporter every time a new version of the design system is published. It’s ideal for stable production environments with strongly defined release cycles.
Head changed: Initiates the exporter whenever any design system element changes. Suitable for dynamic design systems where continuous updates are desired.
Source updated: Activates the exporter whenever the source data (like a Figma file) is updated and new information becomes available. Effectively binds code delivery to the design/library delivery.
Setting up pipelines
Here's how to create a pipeline:
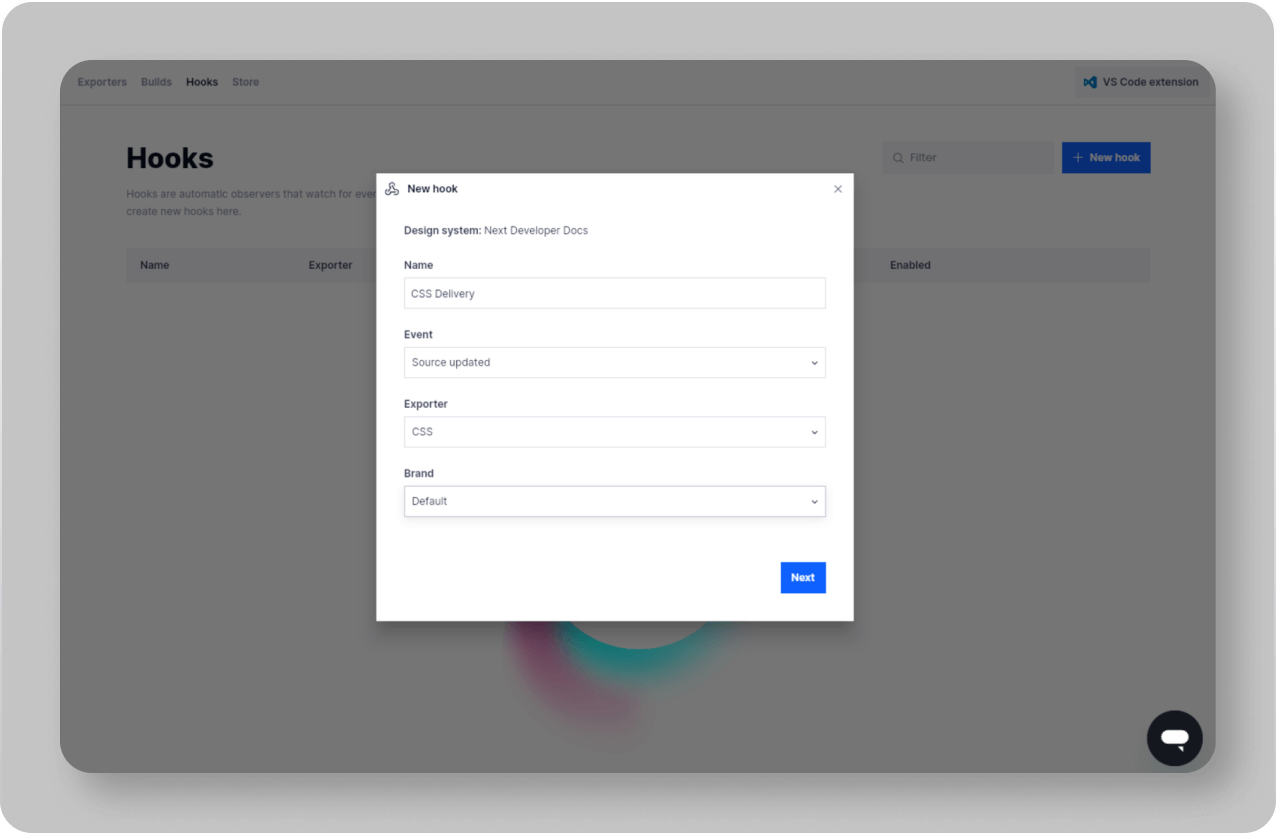
Navigate to Supernova Cloud > Code Integration > Pipelines.
Click on the + New hook button to open the pipeline configuration dialog.
The hook will trigger automatically on creation (default). If you would not like to trigger the build right away, turn this setting OFF.
Click Confirm to create and enable the hook
Code delivery
Once the pipeline is triggered, it will open a pull request with the resulting code against your targeted repository, following these rules:
The PR is opened in a branch (automatically created) called supernova/[exporter-name]
If there’s a PR already opened by the exporter, the code will be committed to the same branch, so it doesn't create multiple branches.
If you close/merge the original PR, then the next commit will create a new PR.
With your updates now in a PR, you can edit, test, and commit it how you see fit and ensure you have full visibility of what you'll be adding to your product.
With your code automation pipeline now in place, you can sit back and reap the benefits of a more consistent product and spend more time creating. And if you want even more control over your design data, look no further than leveraging our SDK. With read-and-write access to all your design system data, you can truly take matters into your own hands while still getting the most out of Supernova.
Stay tuned to our blog for more guides and news on Supernova and all things design systems. Follow us on Twitter or join our Slack for the latest updates.
Subscribe
Stay updated on Supernova and the best design system best practices.
The age of the builder is upon us. Get ready for what lies ahead.

.png)